TIES STEP BY STEP GUIDE

TIES STEP BY STEP GUIDE

In the modern day, In the modern day, wearing a tie has become less common and knowing how to tie one properly can result in an unnecessary stressful situation on a wedding day for example. With this being said, fear ‘knot’ with our simple step-by-step guide on the two most popular/timeless tie knots that will cover all your bases for you next upcoming event.

CASUAL LOOKS - THE SIMPLE KNOT

The simple knot contains the fewest possible steps and is very easy to learn. The Simple knot is compact with an asymmetry causing it to lean toward the active end. This knot works well with thick neckties or for tall guys who need a little extra length. (Credit ties.com)

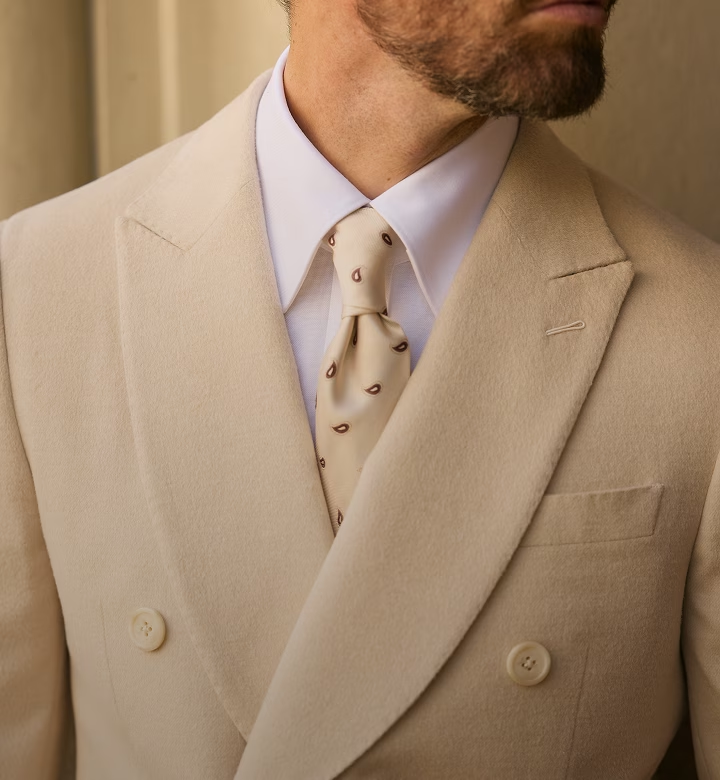
Brown lines tie by Black Jacket Suiting in Brisbane

THE SIMPLE KNOT TYING STEP-BY-STEP GUIDE

Diagram showing a necktie draped straight around the neck before tying a knot

Step-1

Start with the backside of the tie facing away from you, the wide end is on the right and the small end is on the left. The tip of the small end should rest slightly above your belly-button (this will vary depending on your height and the length & thickness of your tie). Move only the active (wide) end.

Step-by-step diagram showing wide end crossed over the front of the narrow end to begin tying a tie

Step-2

Wide end under the small end to the left.

Illustration showing wide end wrapped horizontally across the front to form the tie knot outer layer

Step-3

Across the small end to the right.

Diagram showing wide end pulled up from behind the neck loop during tie-tying process

Step-4

Up into the neck loop from underneath.

Step-by-step diagram showing wide end being pulled down through the front loop of a tie knot

Step-5

Down through the loop you’ve just made in the front.

Illustration of a fully tied and tightened necktie knot with collar loop

Step-6

Pull down on the wide end to tighten. Slide the knot up to adjust.

How to Tie a Perfect Simple Knot

(Ties.com)

FORMAL LOOKS – THE WINDSOR KNOT

Although the Duke of Windsor never specifically used the Windsor knot, he did favor a wide triangular knot. In actuality, the Duke achieved his trendsetting look by tying a Four-in-Hand with specially made wide and extra thick ties. The Windsor delivers a symmetrical and solid triangular knot that works best with a spread collar and provided a more formal finish to any suit. (Credit ties.com)

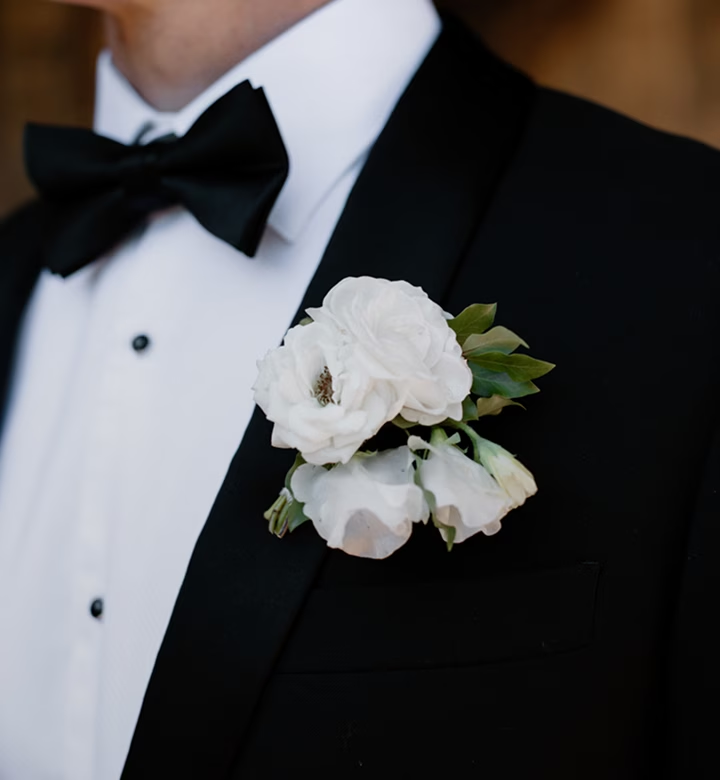
Man tying navy tie - Black Jacket Suiting in Brisbane

THE FULL WINDSOR KNOT TYING STEP-BY-STEP GUIDE

Initial setup diagram showing a necktie draped around the neck before tying

Step-1

Start with the wide end of the tie on the right and the small end on the left. The tip of the small end should rest slightly above your belly-button (this will vary depending on your height and the length & thickness of your tie). Only move the active (wide) end.

Diagram showing initial step of crossing wide end behind narrow end to begin tying a necktie

Step-2

Wide end under the small end to the left.

Step-by-step illustration showing wide end pulled up from behind the neck loop

Step-3

Up into the neck loop from underneath.

Diagram showing wide end folded behind the neck loop during tie-tying process

Step-4

Down to the left.

Illustration showing wide end wrapped horizontally across the front to form the outer tie knot

Step-5

Around the back of the small end to the right.

Step-by-step diagram showing wide end pulled down through the front loop of a necktie knot

Step-6

Up to the center, towards neck loop.

Initial step diagram showing placement of necktie around neck before tying knot

Step-7

Through the neck loop and down to the right.

Step-by-step diagram showing wide end crossing over narrow end to tie a necktie

Step-8

Across the front to the left.

Illustration showing step of pulling wide end through necktie loop to tie a knot

Step-9

Up into the neck loop from underneath.

Diagram showing final step of tightening a necktie knot for a tie-tying guide

Step-10

Down through the loop you’ve just created in the front.

Illustration of a completed, fully tightened necktie knot under a shirt collar

Step-11

Tighten the knot by pulling down on the wide end. Slide the knot up & adjust.

How to Tie A Perfect Windsor Knot

(Ties.com)

Book Now

Ready to experience the Black Jacket difference? Secure your private consultation today and enjoy a personalised fitting tailored to your style, occasion, and budget. Book online below or make an enquiry to begin your suiting journey with confidence.

Testimonials

Gift Cards
Secure Shipping
Fit Guarantee
Live Chat

Frequently Asked Questions

What types of suits does Black Jacket Suiting specialise in?

We specialise in wedding suits, business suits, school formal suits, tuxedos, and event formalwear, offering options for hire, ready-to-wear purchase, made-to-order, and custom tailoring. Our range is designed to suit every occasion, budget, and personal style.

Yes. Our showroom operates by appointment to ensure every client receives dedicated time with a stylist in a private setting. This allows us to provide a personalised, seamless suiting experience.

For suit hire, we recommend booking your fitting at least 7 days before your event. For Ready-to-Wear suits, allow for 2 weeks. For Made-to-Order suits, allow approximately 5 weeks, and for Custom Tailoring, allow >10 weeks, depending on fabric and design selection.

We provide a 7-day hire period at no extra charge, giving you flexibility before and after your event. Additional days can be arranged for a small daily fee if required.

We carry one of Australia’s most diverse ranges, including skinny, slim, classic, and big-man cuts, as well as short, regular, and long fittings to accommodate a wide range of body shapes.

Timings:

Mon To Fri:

12pm-7pm

Saturday:

10am-4pm

Sunday:

Closed